In this guide we are going to change the keyboard layout in Ubuntu. The best way to do this post installation is to add a keyboard layout. You can then easily switch between layouts as needed. There are many different keyboard layouts available in Ubuntu by default.
See also: How to install Ubuntu desktop Linux
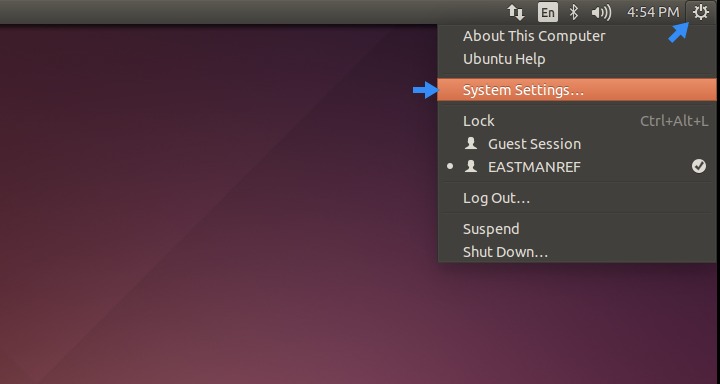
Start by going to system settings. Click the little gear icon in the upper right hand corner of the screen, then select “System Settings…”
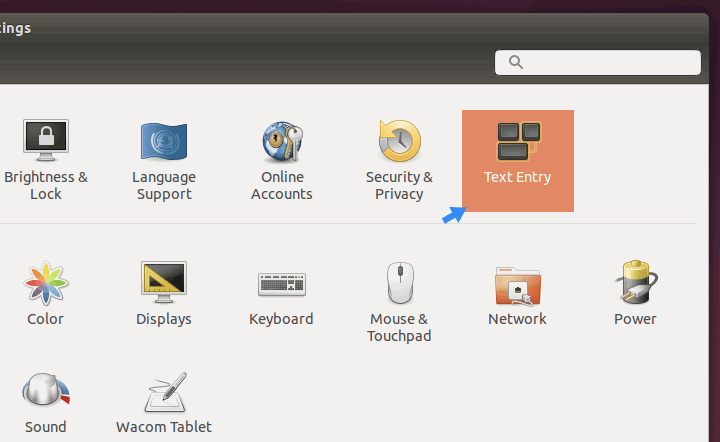
From System Settings, click “Text Entry”.
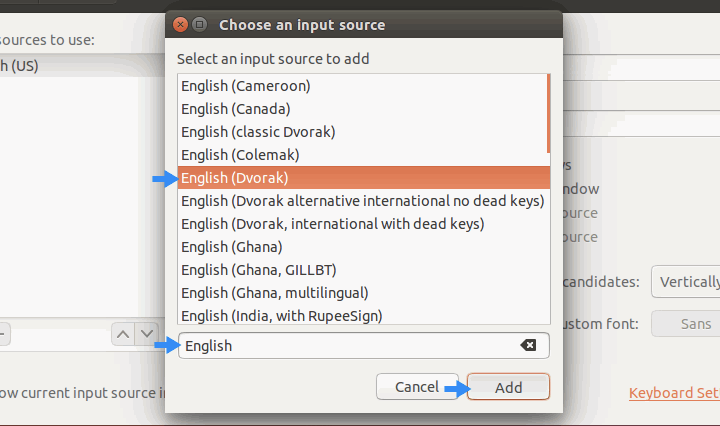
Now, click the little plus button near the bottom left of the Text Entry window.
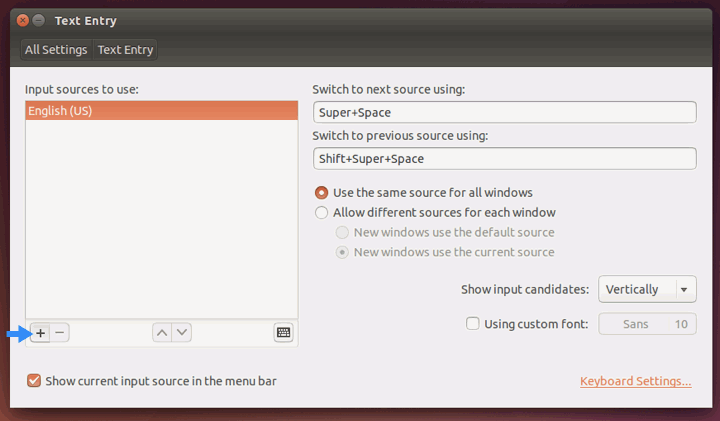
Select a new keyboard layout from the list. Ubuntu has a lot of them by default. To make it a little easier to find the one your looking for, trying typing part of its name into the search field below the list. For example, if you're looking for an English keyboard layout (Dvorak in our example), type "English" into the search field. Once you've found the layout you're looking for, highlight it and click Add.
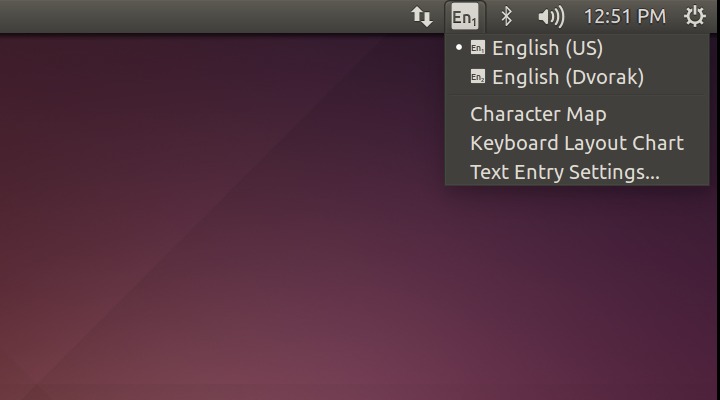
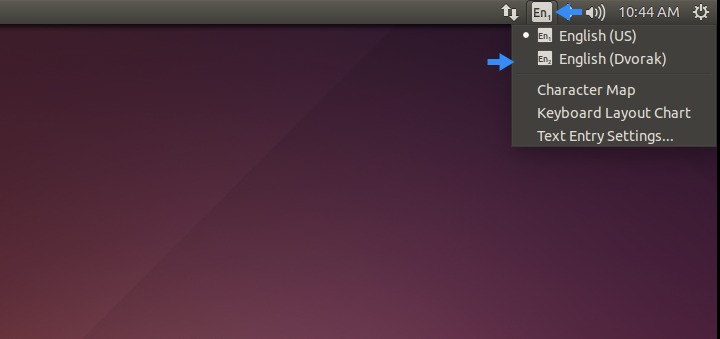
Now that we have a second keyboard layout added, it’s easy to switch between layouts. Click the keyboard layout icon in the upper right hand corner of the screen and select the layout you want. Alternative, we can use keyboard shortcuts to switch between layouts.
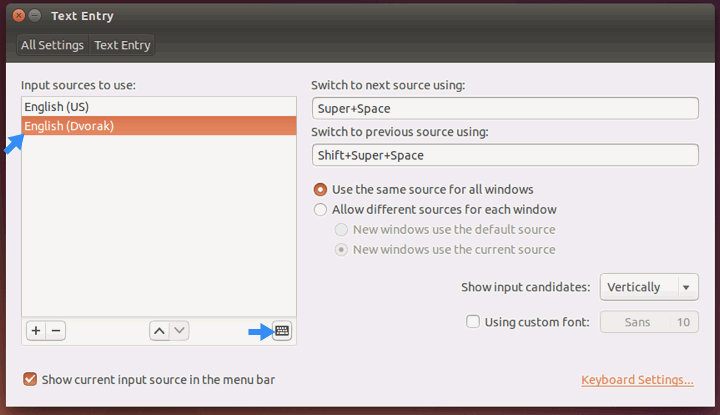
super + space will switch to the next keyboard layout
shift + super + space will switch to the previous layout
The super key is the command key on Mac keyboards and the Windows key on Windows keyboards.
To see the keyboard map, go back to the Text Entry menu. Select the layout you want to see, then click the little keyboard icon near the bottom middle of the window.
It’s worth mentioning the keyboard layout drop down menu, located in the upper right hand corner of the screen. In addition to being able to switch between layouts, this nifty little menu can show you a Character Map, display a Keyboard Layout Chart, and even has a shortcut to Text Entry Settings.
